Coding Content
Putting content on your page with HTML
Every web page has HTML at its foundations.
An HTML file consists of the text and images which make up the content of the web page, with some extra code added to describe the different types of content.
HTML stands for “HyperText Markup Language”, and we use HTML code to mark up our content.
HTML With Alpacas
Open this link in a new tab: Alpacas Code
Keep it open! We are going to be using HTML
to make it look way better.
I have the link open in a new tab.
To introduce you to HTML code, we’ve created some text content for you to mark up.
CodePen Editor
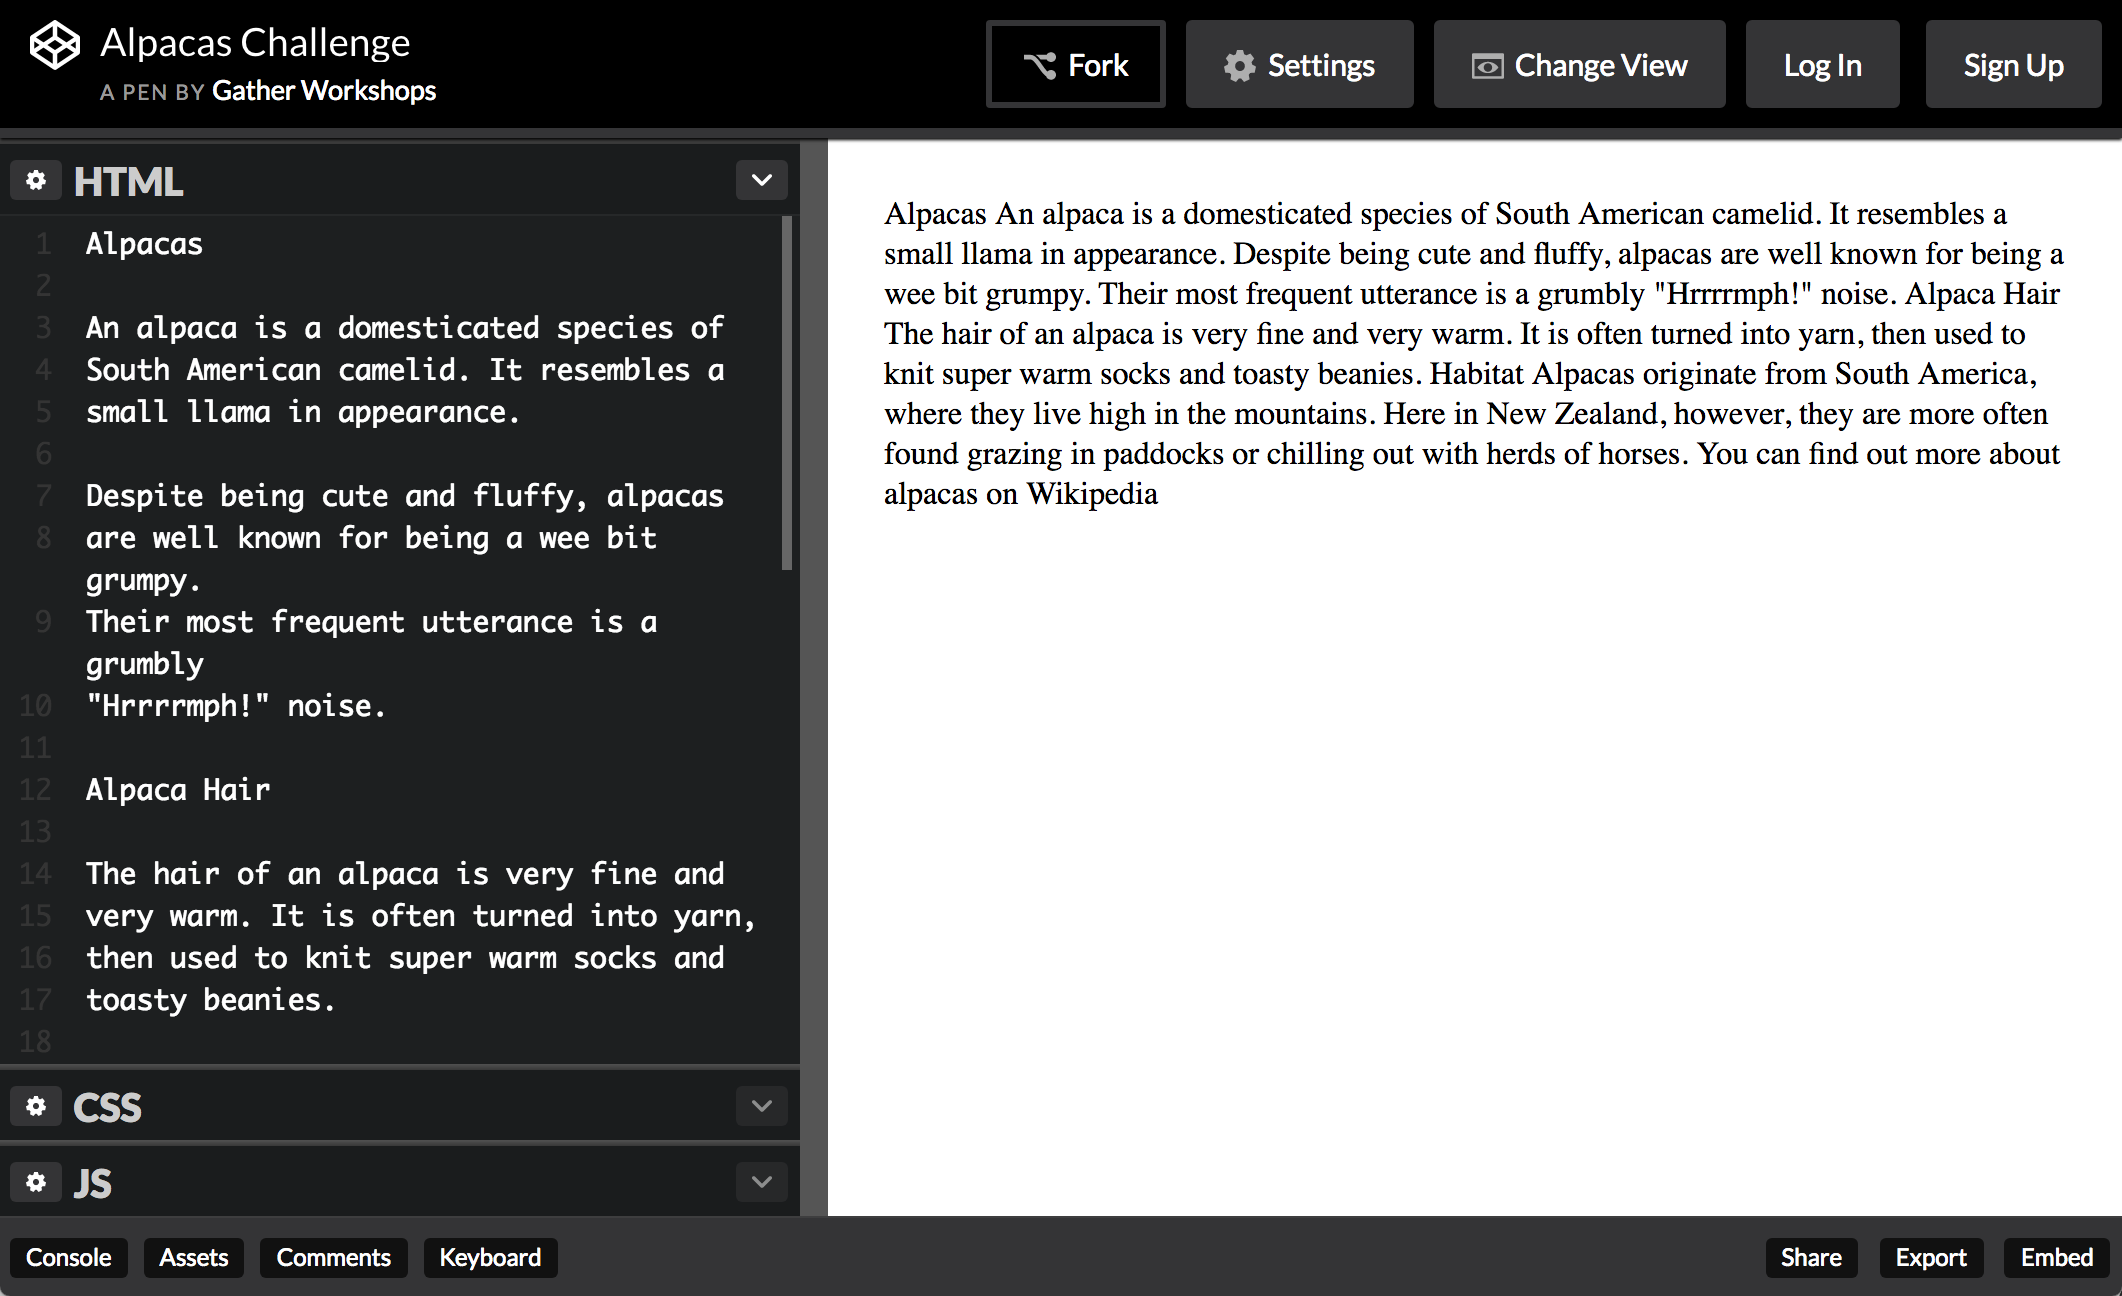
Use the Change View button to show the
code on the left, and output on the right.
My layout is left-and-right like above.
When you first open CodePen, the view will be split top-and-bottom. Switch to left-and-right view by clicking “Change View” and then at the bottom under “Editor Layout” click the first icon.
Also, drag the divider so half your screen is code, and half is the preview.
Which side is your code, and which side is the preview?
The white text is your code. As you make changes, they become visible in the preview area.
What is the first thing you notice about the code vs the preview?
There are “Enters” - blank lines - in the code, but not in the preview. In code blank lines, spaces and “Enters” are known as “white space”.
Add lots of “Enters” in the middle of your code - see how they don’t show up? Remove them.
Add lots of “spaces” in the middle of any sentence - see how they don’t show up? Remove them.
HTML ignores whitespace. We need to add HTML tags to get formatting.
Alpaca Text Example
We will use code to make our output look like this.
After we’ve completed all the steps in this chapter, your final output should look something like this.
Headings
< h1> Alpacas</ h1>
An alpaca is a domesticated species of
South American camelid. It resembles a
small llama in appearance.
Add heading tags around the word Alpacas
.
The word “Alpacas” should now be big and bold.
Let’s start with some really common HTML elements.
The first line is how we make large heading text, using the h1
element. That’s a “one” after the “h” by the way!
Before the big A of Alpacas, add the opening tag
See how everything after the tag turns big? You just told it where to start being big, but you also need to tell it where to stop.
After the word Alpacas, add the closing tag
Now only the word Alpacas should be big.
See how the start and end of the element are written the same, except for the extra “slash” at the end? That’s a really common format in HTML.
<h1>
means “start the heading here”
</h1>
means “end the heading here”
Subheadings
Now use <h2>
tags to make Alpaca Hair
and Habitat
big.
< h2> Alpaca Hair</ h2>
Your page should now have a main heading and two subheadings.
Just like we used h1
for the most important title on the page, we can use h2
for headings which are second most important.
The start and end of the element are still written the same, with the extra “slash” in the closing tag.
Sub-Subheadings
h1
is the biggest heading
h2
is the second biggest heading
h3
is the third biggest heading
h6
is the smallest heading
The biggest heading is h1
and the smallest heading is h6
, but these numbers aren’t really about the size, they’re about importance .
If h1
is a heading, then h2
is a sub-heading.
If h2
is a sub-heading, then h3
is a… SUB-sub-heading.
And h4
is a SUB-SUB-SUB-heading! And so on, down to h6
.
There are only six sizes, but you should very rarely need to use all of them.
If you somehow manage to get down to h4
, you must be writing a very complex textbook - if not, you may need to re-think the structure of your web page!
To change the size of your headings, you’ll use CSS - not a different heading number! We’ll get to that shortly :)
Paragraphs
Now use <p>
tags to split up your paragraphs.
< p>
An alpaca is a domesticated species of
South American camelid. It resembles a
small llama in appearance.
</ p>
Put a <p>
before each paragraph,
and a </p>
after each paragraph.
Your paragraphs should have an empty line between them.
Paragraphs of text use the p
element.
A paragraph of text will automatically have some space before and after it.
Add an opening <p>
tag and a closing </p>
tag around each of the 5 paragraphs in your code.
Even though some of the paragraph tags appear to do nothing at first, add all 5 sets because these HTML tags allow us to add design with CSS later on.
< a> Wikipedia</ a>
In the last paragraph, add a
tags around the word Wikipedia.
Nothing will change yet, we have more to do!
Links help us connect our website to the rest of the World Wide Web.
The a
element stands for “anchor” but you can think of it as meaning “action” if that’s easier to remember.
Clicking a link takes you to another web page.
Link href
Now add the href
attribute to the opening tag.
< a href = " #" > Wikipedia</ a>
Your link should be blue, but not clickable yet.
The href
thing we just added is known as an “attribute” - it’s how we add extra information to an HTML tag.
Attributes always go inside an opening tag , between the <
>
triangle brackets.
Attributes always look like option="value"
, with the equals sign and quotation marks.
Pay close attention to the syntax here. Syntax is all the punctuation we use in code, like the "
quotation marks and the =
equals sign. It needs to be exact. Make sure your link has turned blue before continuing!
The #
hashtag is a placeholder. We can use it when we don’t know what page we want to link to yet. We’re going to replace it in the next step!
Link URL
Replace the #
hashtag with a link to an actual web page.
A good link to use would be the Wikipedia page for Alpacas.
< a href = " http://en.wikipedia.org/wiki/Alpaca" > Wikipedia</ a>
Your link should now work when you click it.
The attribute href
stands for “h yperlink ref erence” which is just a fancy way of saying “website address”.
The href
attribute is what we use to tell a link where it should link to.
Adding Images
At the very bottom of your code, on a new line,
add a new img
tag with a src
attribute.
< img src = " #" >
You should see a small box with a “broken image” icon.
The image tag is an odd one - where is its closing tag?
That’s the trick, it doesn’t have one! Images need only an opening tag. They are a self-closing tag.
They also need the src
source attribute, which says where on the Internet the actual image is stored.
Here we are using a hashtag as the source. Just like with links, we can use the hashtag until we know the actual image URL we want to use.
Image Source
Find an image online, and copy the link to it.
< img src = " http://placekitten.com/200/300" >
Replace the #
as the src
value, using paste.
Your image should now be visible.
Setting the image source to a valid image link should make the image show up on your page.
Occasionally this won’t work, such as if you link directly from Google’s cached images, or if you link to an image on a site which is blocking image linking.
Linking to an image doesn’t copy it to your site, it loads the image from the original location every time you load the page. If the original owner takes the image offline, it will disappear from your site.
Image Size
< img src = " http://placekitten.com/200/300" height = " 100" >
height
is the height of the image
This is optional, it is the height in pixels.
The width and height of an image is considered to be part of its design, so we should really be setting the width and height from CSS not from HTML.
We’ll use the height
attribute for now, because we haven’t done CSS yet.
More Images
Add at least two more images to your page.
< img src = " http://placekitten.com/200/300" height = " 100" >
< img src = " http://placekitten.com/300/400" height = " 100" >
< img src = " http://placekitten.com/100/150" height = " 100" >
Your page should now have at least three images.
Notice that you need a whole separate image tag for every image you want to include.
Usually, you would put each image on a new line in your code to make it easy to read.
Final Result
Your own output window should now look something like this.
Edit on CodePen
Your HTML demo page should now be pretty much done!
If you’d like to see the code we wrote for it, you can explore the HTML and CSS for it on CodePen .
If your own page doesn’t look like the example, check that all your tags are correct!
Remember most tags come in pairs:
<h1>
</h1>
<h2>
</h2>
<p>
</p>
<a href="#">
</a>
But images only need one tag:
What We Learned
Headings
Biggest is h1
, smallest is h6
, and size is based on heading importance
Paragraphs
Split our content up into manageable pieces.
Images
They only have an opening tag, and use src
to load an image.
Links
Use the href
attribute to link to another page on the web.
We only covered a few HTML elements, but there is heaps that we can do with them!